how to do your own lash extensions
Nov 10, 2023
Lash extensions have become increasingly popular in recent years, and for a good reason. Not only do they add volume and length to your natural lashes, but they also eliminate the need for daily mascara applications. While going to a professional is always a safer option, with the right tools and a steady hand, you can achieve a beautiful set of lash extensions at home. In this article, we'll guide you through the steps of doing your own lash extensions.
1. Gather Your Supplies
To start, you will need the necessary supplies, including:
-A lash extension kit (includes lashes, adhesive, tweezers, and glue remover)
-Scissors
-Mirror
Ensure that all of your supplies are within reach and easily accessible before beginning.
2. Prep Your Lashes
Before applying any lashes, it's essential to prepare your natural lashes by thoroughly cleansing them. This step is crucial for better adherence. Begin by removing any traces of makeup from your lashes and around your eye area. Use an oil-free makeup remover or micellar water to avoid dissolving the adhesive.
Cleanse your lashes with a lash shampoo or lash cleanser to remove any dirt, oil, or debris. Avoid using oily or creamy products because they leave a residue that may weaken the bond between the lash extension and natural lash. Rinse with warm water and pat dry with a soft towel.
3. Choose Your Lashes
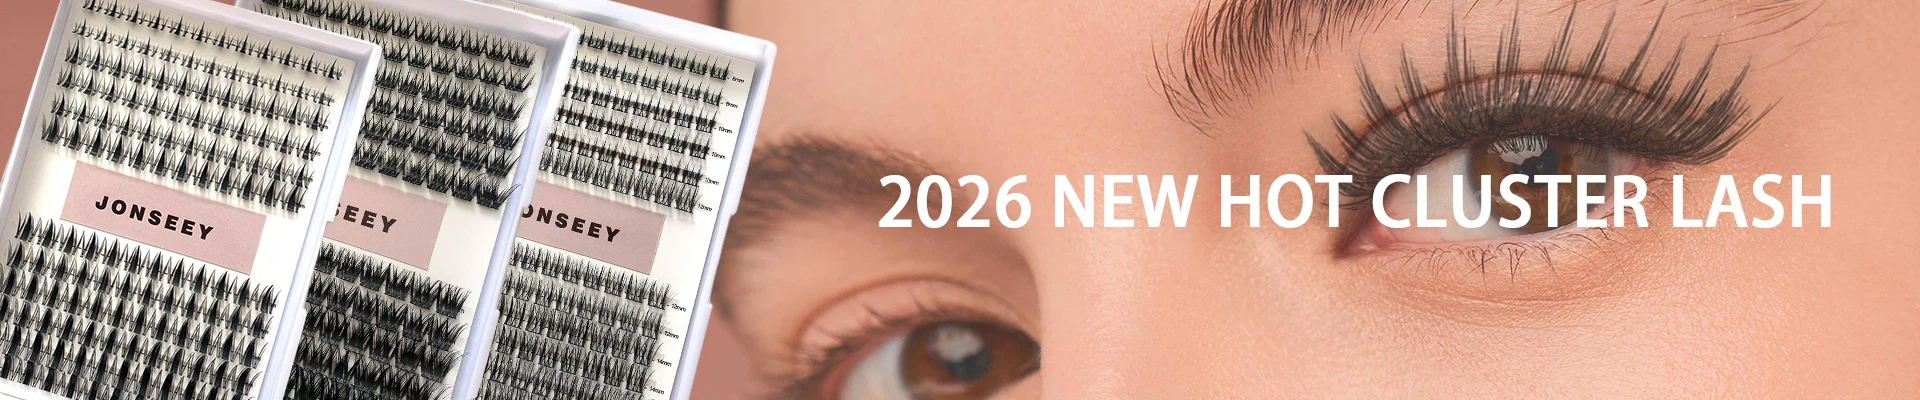
Select your preferred length, curl, and thickness of lashes and place them in a tray or a lash tile. This step is crucial, as the right lash style can make all the difference. Be sure to choose lashes that are lightweight and comfortable to wear.
4. Apply the Adhesive
Dip the lash extension into the adhesive or apply a small amount of adhesive to the lash extension's base, then wait for a few seconds for the adhesive to get tacky. Use a steady hand to place the extension on top of your natural lash, starting from the center and working your way outward.
5. Repeat the Process
Repeat the process, working your way from the inner to the outer corner of your eye, placing each lash extension in the desired position until you have achieved the desired look. Be patient and take your time to ensure that each extension is applied correctly and precisely.
6. Let the Adhesive Dry
Allow the adhesive to dry completely before opening your eyes or touching your lashes. Avoid getting your lashes wet or applying any cosmetics for at least 24-48 hours after application, as this can affect the adhesive's integrity.
7. Avoid Touching Your Lashes
Try to avoid rubbing or pulling on your lashes, as this can cause them to fall out prematurely. Gently comb through them with a clean spoolie brush to separate and maintain their shape.
In conclusion, doing your eyelash extensions at home can be a fun and exciting experience when done correctly. Take your time and follow these simple steps, and you will have beautiful, natural-looking eyelash extensions that will elevate your glam game.